What FUN we had in 2nd grade this week! Glitter, Glitter and more Glitter! Unfortunately we are out for snow today so I am missing one of my 2nd grade classes 😦
I started with only a few supplies!

Wax paper (I bought the cheapest)
Popsicle sticks (4)
Glue
Ribbon
Glitter
I have the children work on wax paper to prevent a great mess. Have the children write their names on the wax paper with a marker so the ornaments can dry and you won’t forget whose is whose.
Step #1

A drop of glue is all it takes!
Place one drop of glue in the center of two of the popsicle sticks.
Step #2

Making plus signs or “T’s”. Glue 2 popsicle sticks together.
Step #3

Another drop of glue in the center of one (1) T.
Step #4

Place T’s together making a star shape.
Step #5 OOPS! We should have been doing all of this on a piece of wax paper! Please add it now!
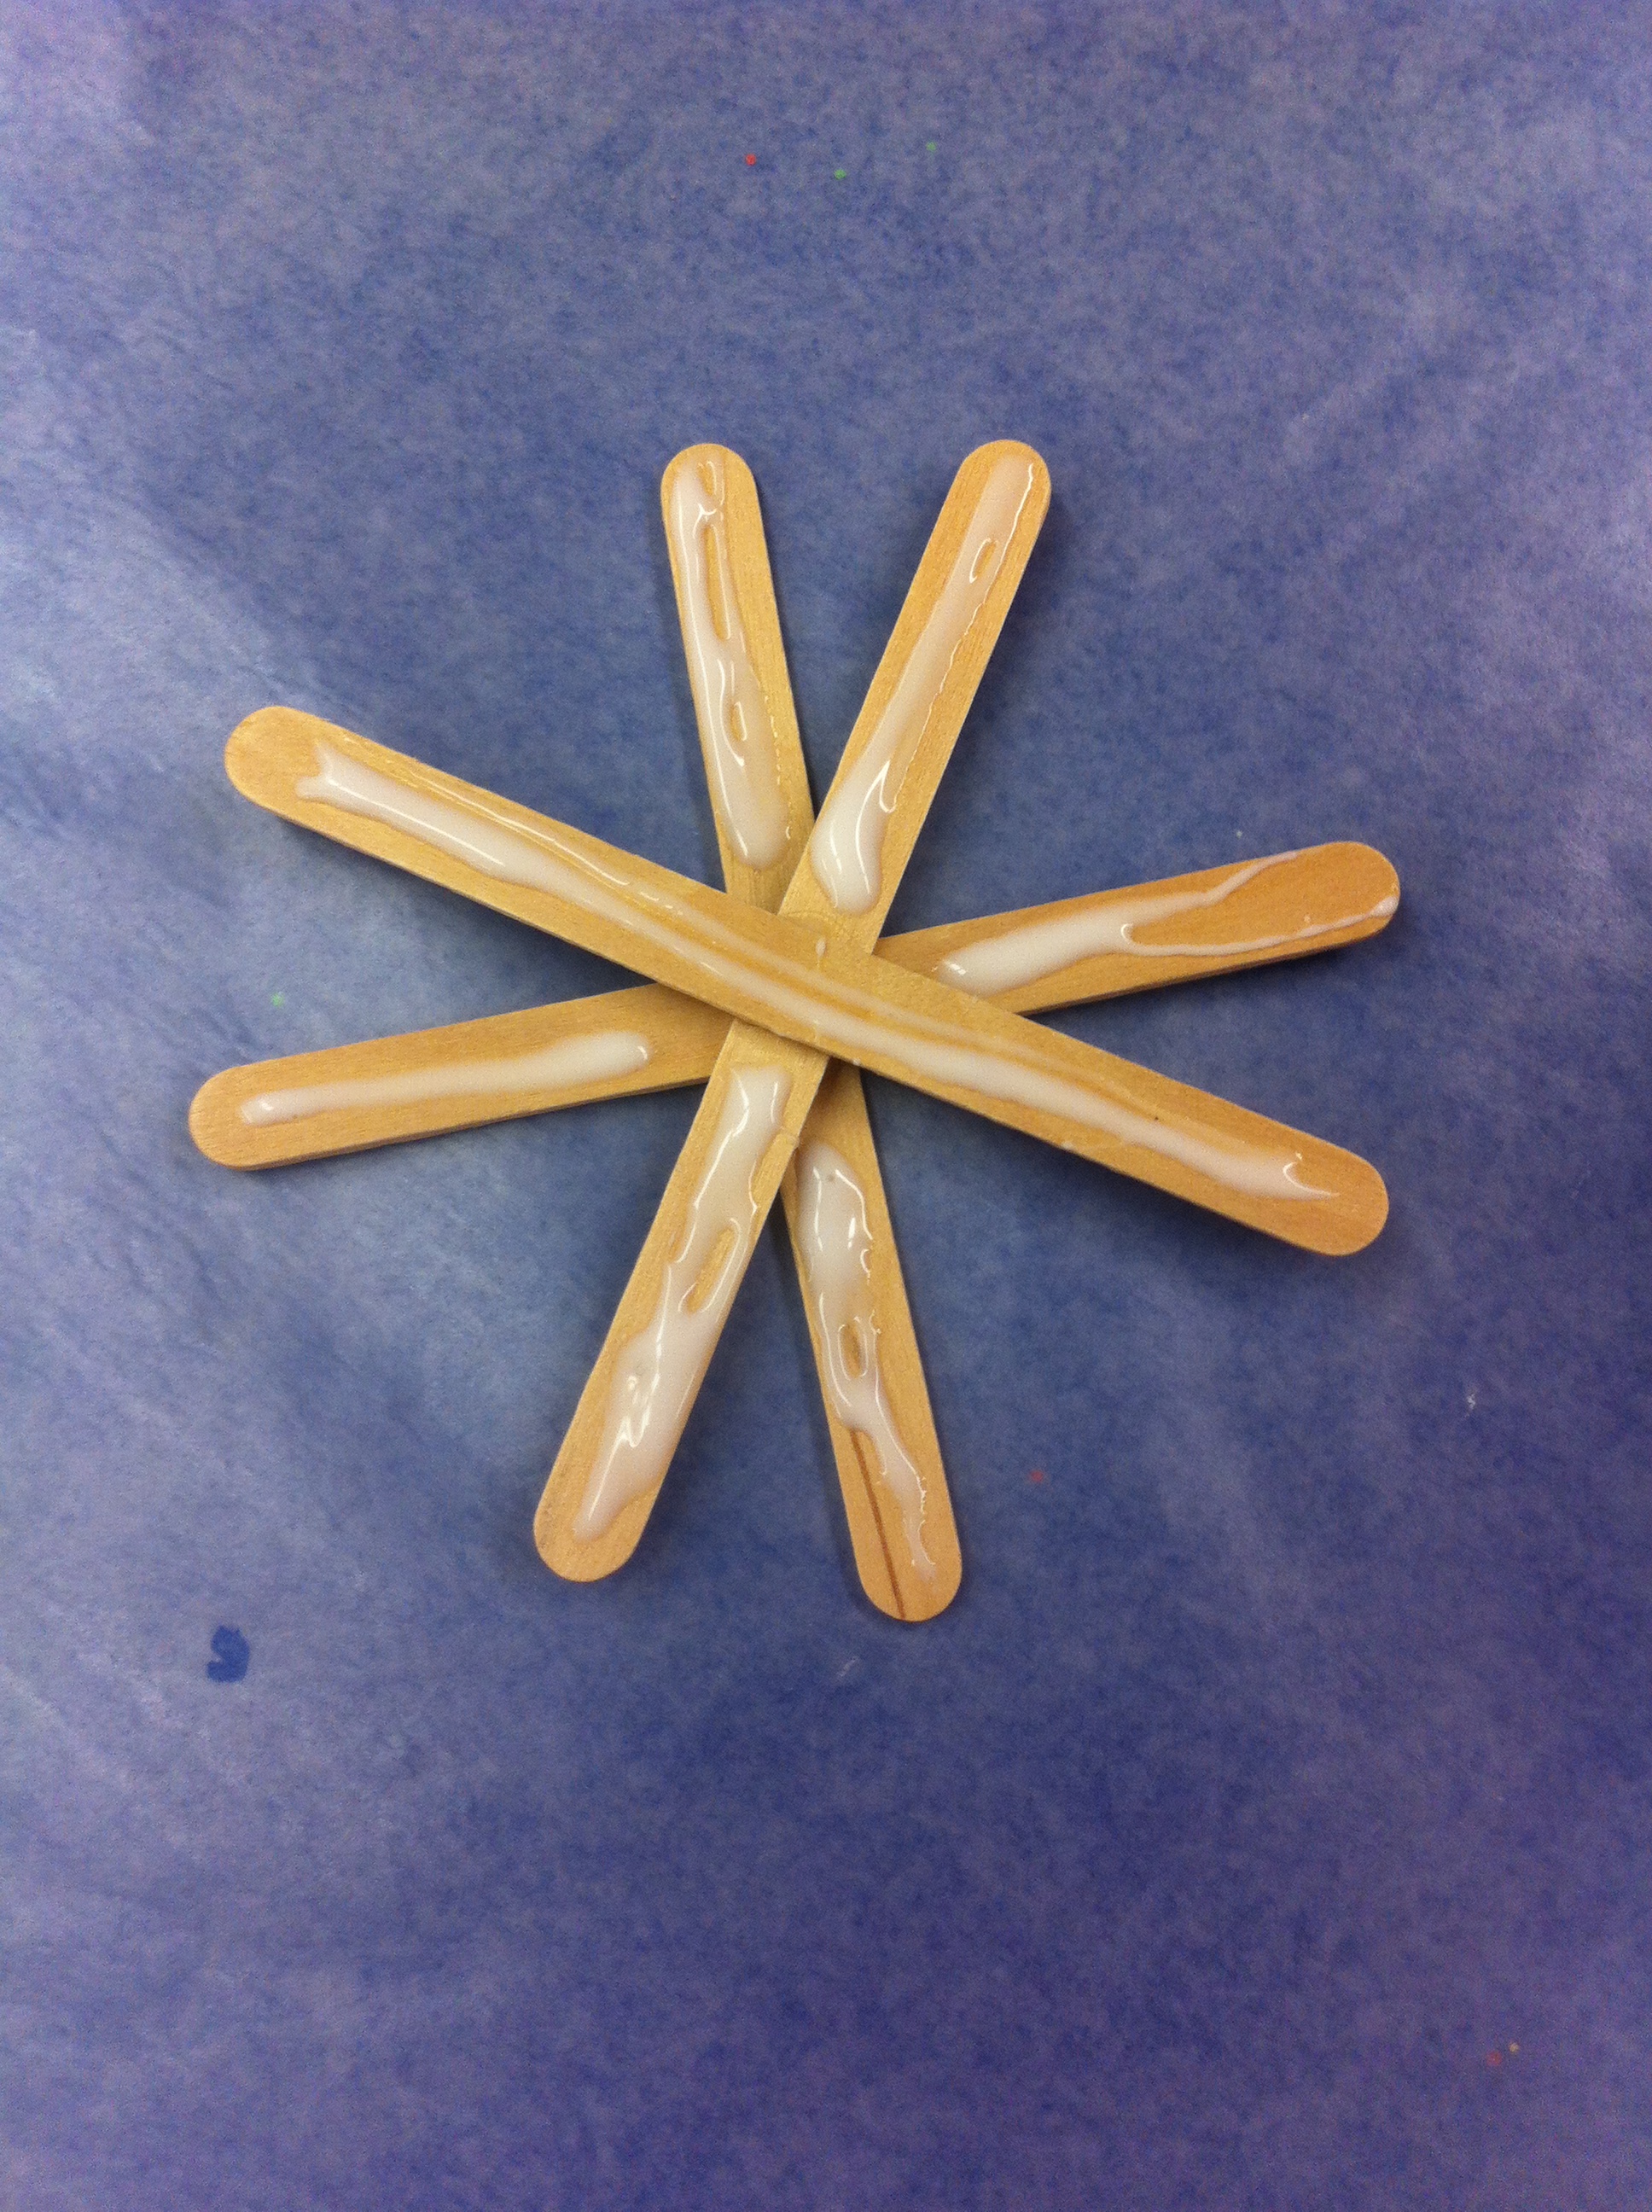
Press them together and cover each leg of the star with glue!
Step #6

Sprinkle with lots and lots of GLITTER!
Step #7 Keep these in classroom to dry then add ribbon.

Teachers only! Use a hot glue gun to attach ribbon to the back for hanging!
It takes a long time to attach each ribbon, but it is worth it because the kids love their ornaments so much! Each of my students made 2 ornaments so that was double duty for me! After I attached the ribbon, I labeled a zip-lock bag with their names on it and delivered them to their rooms so they could take them home to put on their tree! Merry Christmas!
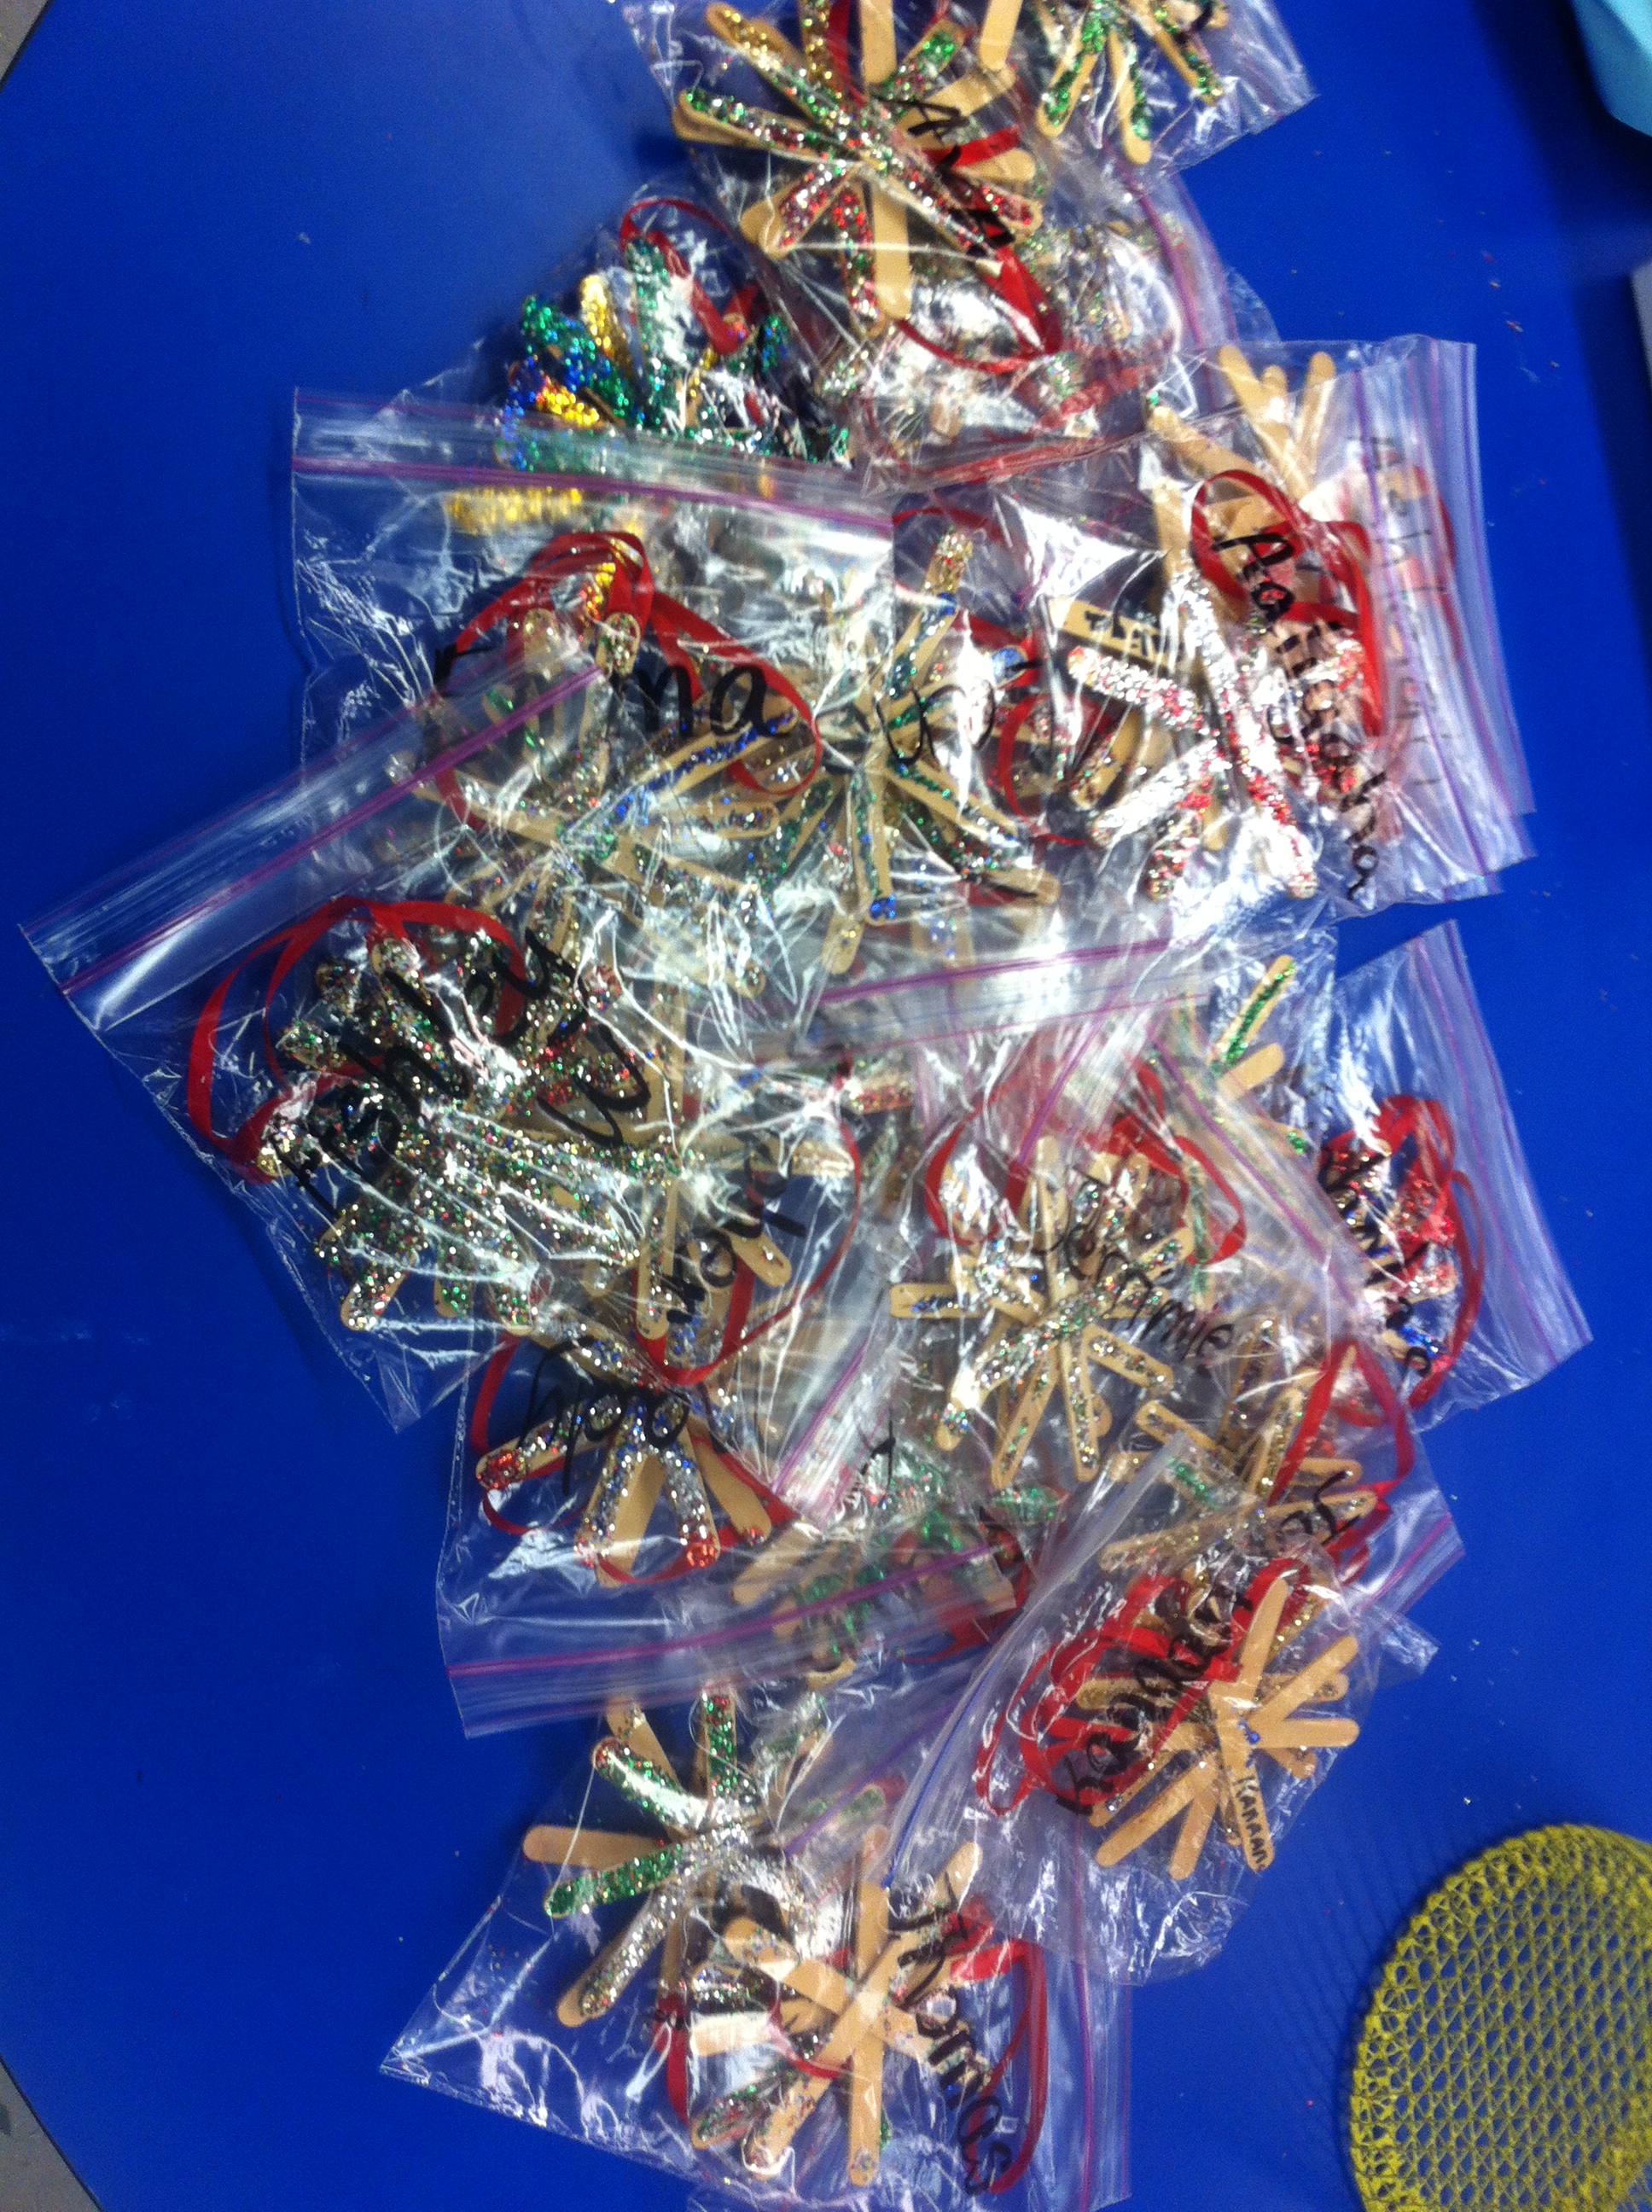
Bags of ornaments!


